
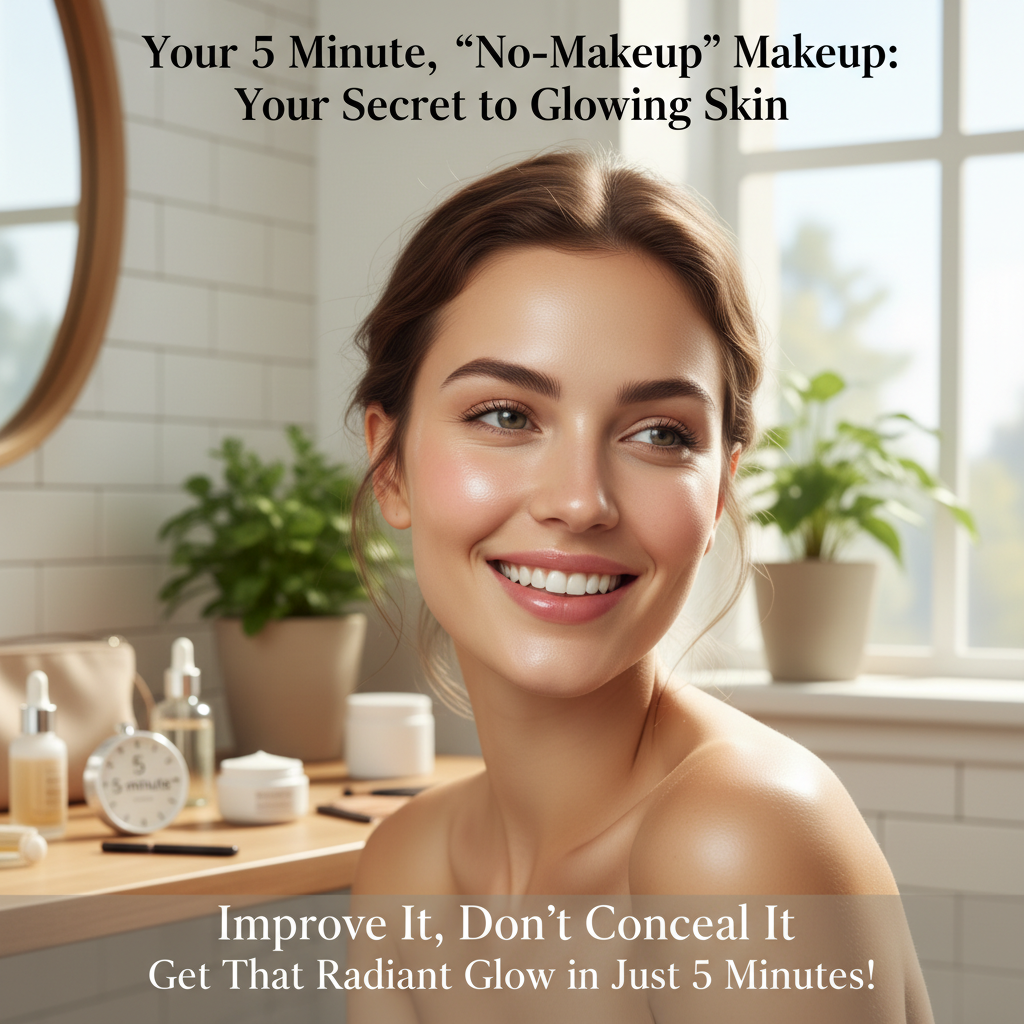
Your 5 Minute, “No-Makeup” Makeup: Your Secret to Glowing Skin
The alarm goes off, the coffee’s brewing and you’re staring at yourself in the mirror, wrestling with a timeless question: Do I want to trade that extra time in bed for a full face of makeup, or do I stay raw? We’ve all been there – we want to look plantonic as fuq, but are always in a hurry and don’t want to feel like a slave to our make up for the day.
Good news, beauty lovers! You don’t have to choose. Today, we are getting into the ultimate – that is to say, natural, quick and easy – “no makeup” makeup routine in a step by step tutorial so you can be out the door in 5 minutes looking like you woke up like this. This is a look about playing up your natural beauty, not hiding it. It’s ideal for rushed mornings, errand days or when all you want is a hint of shimmer with minimal effort.
The Underlying Idea: Improve It, Don’t Conceal It
Imperfectly perfect The secret to really nailing “no-makeup” makeup?Two very simple concepts:have excellent skin prep and use the lightest of light touch. Harks to think of your skin as your canvas; the better you that prep it, they easier those natural glow will show.
Key Takeaways:
Prep Skin Matters: Begin with a well-moisturised slate. A solid moisturizer and broad-spectrum SPF are not optional. They not only shield your skin, but also create a soft, dewy canvas for all that’s to come.
Less is More Our objective is to highlight, not cover up. Use some products only as necessary and apply them with a soft stroke, puffing into place.
Get That Radiant Glow in Just 5 Minutes!
Ready to reveal your pure glow? So let’s dissect this supersonic routine to get at the simple steps.
Step 1: Flawless-ish Complexion (Approx. 1.5 minutes)
Forget heavy foundations. After tone, we are looking for even tone and a glow that looks like skin — if better.
The Base: Go for a tinted moisturizer, BB cream or a light coverage foundation. These formulas are a sheer veil of color that will even out your skin tone, while allowing natural texture to peak through. Use just a little wherever you need it (usually the center of your face and/or T-zone), then blend out with your fingertips or a damp beauty sponge. The Genius way to apply Ultra Creamy Foundation – Use your fingers, it will warm up the product even more so that it melts into your skin for the most NATURAL finish.
Precision Concealment: Next up, your taste of a creamy concealer. Concentrate on brightening under your eyes (the inner and outer corners of the eye area especially) and neutralizing any redness around your nose or at blemishes. Pat onto the skin lightly using your ring finger, and blend gently, creating a seamless effect.
Product Picks:
Tinted Moisturizer/Light Foundation: For this look I always go back to my tried and true Ilia Super Serum Skin Tint SPF 40. It’s loaded with skincare benefits, it boasts a radiant dewy finish and it gives light natural coverage. For a bit more of a traditional vibe, Saie Slip Tint Dewy Tinted Moisturizer SPF 35 is another great for getting that hydrated, glowy look.
Concealer: There’s a reason the NARS Radiant Creamy Concealer is a classic – it has full coverage, and doesn’t settle into fine lines. If you’re looking for an super natural, skin-like finish Glossier stretch concealer is a great pick.
Step 2: A Flush A well-being flush (753 words) Read more Beauty News on India.com ton Read more on beauty and wellbeing. 1 minute)
Restore some life to your face with a natural flush that appears as if you’ve just come in from a brisk walk.
The Product: Cream blushes or liquid bashes are where yah wanna be! They diffuse seamlessly on the skin, giving the most natural, dewy flush you just can’t get from a powder blush.
Application: Smile a little to locate the apples of cheeks. Pat on a bit of creamy or liquidy rouge over the apples, and then press (or sponge) lightly to blend and direct the color up toward your temples. Choose a soft peach, rose or berry shade to emulate your natural flushed.
Product Picks:
Cream/Liquid Blush Rare Beauty Soft Pinch Liquid Blush is iconic for a reason – only one small dot is needed to cover half your face, and the colors are quite literally jaw-dropping. Alternatively, there’s the Milk Makeup Lip + Cheek Stick if you love a multi-tasking product that’s totally effortless to use on-the-fly.
Third step: Define the eyes discreetly (approx. 1.5 minutes)
Give your eyes that pop without appearing like you’re doing too much.
Lashes: Begin with an eyelash curler. Then put on a light, one-coat layer of brown mascara. Brownish-black mascara offers the definition and length of blackened, without feeling too intense or heavy. It’s a subtle opener for your eyes and gives the appearance of making you look more vibrant and awake.
Brows: “It frames your face! Run a tinted brow gel through your eyebrows in the direction they grow. This lends a hint of colour, helps to fill in patchy bits and keeps your brows in place so they look groomed and defined.
Product Picks:
Brown Mascara:Looking for volume and length in an affordable drugstore option, it doesn’t get any better than Maybelline Lash Sensational Luscious Mascara in Brownish Black. For a glam finish, Benefit Roller Lash Curling & Lifting Mascara in brown is great for both curl and staying power.
Colored Brow Gel: Glossier Boy Brow is a cult-favorite for achieving that feathery, undone brow. For a touch of extra fullness, try Benefit Gimme Brow+ Volumizing Eyebrow Gel to supplement with fibers and tint.
Step 4: Hydrated, Tinted Lips (1 Min) Keep your lips soft but not prominent – Shutterstock Just apply a sheer lipstick and it will build the consistency of your lip color. 0.5 minutes)
The finishing touch to complete the look, adding a subtle colour and moisture.
The Product: A tinted lip balm or a creamy, neutral lipstick works beautifully. They are not only moisturizing, but they add a subtle hint of color to your natural lip shade.
How to use: Apply directly to your lips. No precise lining required here! Go for a color that’s similar to your own lip shade, just slightly amped up — scrollover soft nudes, mauves and berry hues.
Product Picks:
Lip Balm With Color: Fresh Sugar Lip Treatment SPF 15 has a cult following as a hydrating tinted balm. If you are after a juicy, glossy look, the Laneige Lip Glowy Balm is a great everyday choice.
The final step Lock It In and Glow!
This last step is really going to melt everything into your skin, help it last and give you that “glass skin” glow we all want!
The Magic Mist: Once you’ve finished your makeup, grab that setting spray (we love this one) or facial mist and lightly spritz about 8-10 inches away from your face. This will marry all of the layers you have put on (no one’s pores should show their makeup), take away any powderyness, and give you skin a beautiful natural glow.
Product Picks:
Finish Spray/Facial Mist: Tatcha’s Luminous Dewy Skin Mist is a great high end option when it comes to getting that glow on. MAC Prep + Prime Fix+ is an all-time favorite that really aids foundation in integrating with your skin for a seamless look.
Get Rid of The Fuss, Discover The Glow!
Voila – in 5 minutes you look fresh, natural and glowing with very little effort! This routine has been created to give you that oh so perfect skin and glow! You’ll look like you woke up this fab.
So chuck the full face and the morning frenzy. When You Embrace Your Real Beauty And Use All Natural Makeup This Simple 5 Minute No Make Up Look Establishing Self Esteem Routine Will Have You Walking Around With A Glowing Confidence That’s Only Yours.
What are your ride-or-die “no-makeup” makeup products or your favorite easy beauty hacks? Let me know what are your tips and tricks in the comments!


